From Idea to App Store: The Complete Step-by-Step Process of Building a Mobile App
 Sharan Sifat15 min read1 views
The complete step-by-step process of building a mobile app, from validating your idea to launching on the App Store and Google Play, with real timelines, costs, and the native-vs-cross-platform decision explained.
On this page
Building a mobile app from idea to App Store follows the same seven-stage path almost every time: discovery and validation, UI/UX design, development, quality assurance, app store submission, launch, and ongoing iteration. The difference between an app people download and a folder of unfinished code is rarely brilliance or luck. It is execution — running a proven, systematic process that turns a vague concept into a polished product people actually pay for and enjoy using.
Almost everyone has had the "someone should build an app for that" moment. Turning that thought into a live product means coordinating market research, user experience design, visual design, frontend and backend engineering, testing, DevOps, app store optimization, and product management. Trying to navigate that without a roadmap is like building a house with no blueprints — you might get something standing, but it will not be what you pictured, and it will not be sound.
At Bracket Coder we have guided founders and established businesses through this journey — from first-time entrepreneurs shipping their first digital product to companies launching their fourth or fifth app. Regardless of experience level, the successful projects follow the same fundamentals. This guide breaks down each stage so you know exactly what to expect, what it typically costs, how long it takes, and which questions to ask before you spend a dollar.
- A mobile app moves through seven stages: discovery, design, development, QA, submission, launch, and iteration.
- Discovery and validation cost the least and save the most — they stop you building the wrong product.
- Cross-platform frameworks like Flutter share 80–95% of code across iOS and Android, cutting time and budget.
- Apple and Google take a 15–30% commission on digital sales, so plan monetization before you build.
- Launch is the start, not the finish line — real growth comes from measured iteration after release.
The seven stages of building a mobile app
Before we go deep, here is the whole journey at a glance. Every serious project passes through these stages in roughly this order, even if they overlap. The ranges below reflect what we see on real client work for a focused first version — a genuinely complex product with multiple integrations, payments, and custom infrastructure sits above these numbers, and a very simple utility can sit below them.
| Stage | What happens | Typical time | Typical cost |
|---|---|---|---|
| 1. Discovery & validation | Market research, competitor analysis, personas, feature prioritization | 1–3 weeks | $1,000–$5,000 |
| 2. UI/UX design | Information architecture, wireframes, UI mockups, prototype | 3–6 weeks | $3,000–$15,000 |
| 3. Development | Frontend, backend, integrations, built in sprints | 8–16+ weeks | Largest share of budget |
| 4. Quality assurance | Functional, device, edge-case and security testing | Runs alongside dev | Bundled into build |
| 5. App store submission | Store listings, assets, review, ASO | 1–2 weeks + review | Store fees + setup |
| 6. Launch | Release, monitoring, first-user support | Ongoing | Marketing-dependent |
| 7. Iteration & maintenance | Analytics-driven updates, OS upgrades, new features | Continuous | Monthly retainer |

Notice where the money sits versus where the risk sits. The cheapest stage — discovery — is the one that protects every expensive stage that follows. Skip it and you can spend six figures building something nobody wants. Respect it and everything downstream gets faster and cheaper. If you want the full end-to-end picture of how we scope and run this, our web and mobile application development process maps directly onto these stages.
Stage 1: How do you validate an app idea before building it?
The discovery phase is where good projects are separated from doomed ones before a single dollar goes into design or code. Its job is to answer three questions honestly: is there a real market for this app, who exactly are the users, and what is the smallest set of features that delivers value?
Market research and honest validation
Market research means confirming that people genuinely have the problem your app solves and will pay for a solution. This is not asking friends and family whether it is a good idea — they will say yes because they like you. Real validation means finding people with no personal connection to you and studying their actual behavior. Are they already paying for imperfect alternatives? Are they burning time on manual workarounds? Are there search trends, Reddit threads, or industry-forum discussions that show demand exists whether or not your app ever ships?
Competitive analysis and differentiation
Competitive analysis maps who else serves this market and how. Download and thoroughly test every competitor. Document what they do well, where they fall short, exactly what their users complain about in store reviews, and where the gaps are. This informs your differentiation and — just as importantly — stops you from building features nobody values while ensuring you include the table-stakes features users expect on day one.
Personas and ruthless feature prioritization
A user persona goes beyond demographics to capture goals, frustrations, daily workflows, technical comfort, device preferences, and the moment someone would discover and open your app. Personas settle arguments: when the team debates how a feature should behave, the question becomes "what would our persona actually prefer here?" Feature prioritization then distills every insight into one list — must-have for the MVP, should-have for the first update, could-have for the long-term roadmap. This discipline prevents the classic mistake of building everything at once, which produces bloated timelines, blown budgets, and unfocused products.
Discovery typically takes one to three weeks and costs $1,000–$5,000 with a professional team. Spending money before you have anything to show can feel premature, but in the projects we ship this stage consistently pays for itself many times over by preventing you from building the wrong product.
The cheapest stage of building an app is the one that decides whether the expensive stages are worth starting at all.
Stage 2: What does the UI/UX design phase actually produce?
With a validated concept and clear priorities, design turns the idea into something you can see and tap. This stage splits into two parts: UX design, which is how the app works, and UI design, which is how the app looks. Getting UX right first is what keeps the beautiful visuals from decorating a confusing product.
UX: information architecture and wireframes
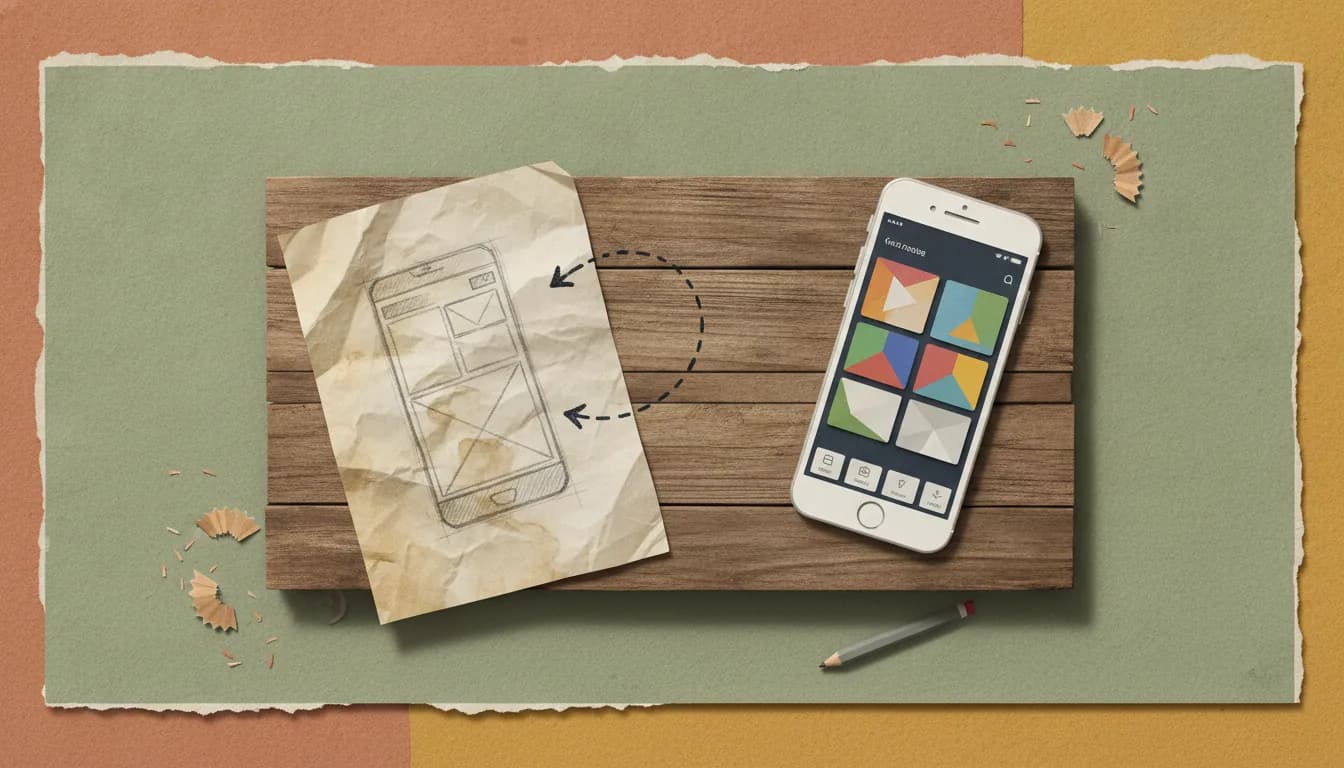
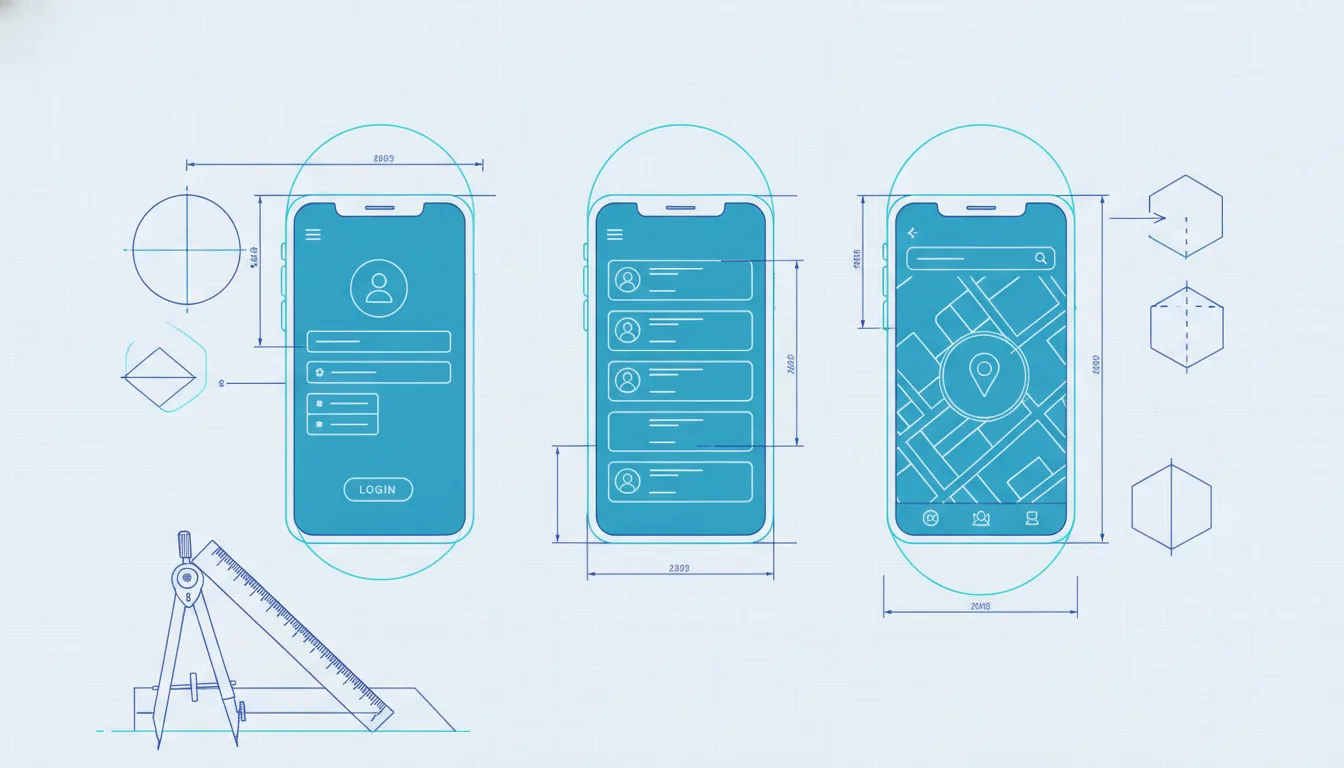
UX design starts with information architecture — the structure of content and features. Think of it as a map of every screen, navigation path, and user flow. How does a brand-new user go from download to first meaningful action? How does a returning user reach their most-used features in one tap? How does the app handle error states, empty states, loading states, and the awkward edge cases? These get answered with user-flow diagrams, then wireframes: low-fidelity, black-and-white sketches that deliberately strip away color and imagery to focus on layout, hierarchy, and interaction. Wireframes are fast and cheap to change, which is exactly why you iterate on structure here — before anyone touches polished visuals.
UI: visual identity and interactive prototypes
Once wireframes are approved, UI design brings your brand to life: colors, typography, iconography, and imagery that reflect your brand personality while meeting accessibility standards for contrast and readability. Designers produce pixel-perfect mockups of every screen at every relevant size. Then interactive prototypes make the static screens tappable. In design tools like Figma we build clickable prototypes so you can walk the navigation and feel the flows before any code exists. Put that prototype in front of five to ten people from your target audience, watch them use it, and you will surface usability problems that even experienced designers miss.
Treat the prototype as your cheapest user test. Every confusing tap you fix in Figma is a fix that would have cost far more once it was written in code, tested, and shipped.
Design typically takes three to six weeks depending on complexity and costs $3,000–$15,000. You should walk away with complete wireframes, high-fidelity UI for every screen, a working interactive prototype, and a design system that documents the app's visual language so implementation stays consistent.
Stage 3: Native vs cross-platform — how should you build the app?
Development translates approved designs into a working application. It is the longest, most resource-intensive stage, and how it is run has a profound effect on quality, timeline, and cost. The first big decision is your build approach.
Native versus cross-platform, compared
Native development means separate apps for iOS and Android using platform-specific tools — Swift for iOS, Kotlin for Android. Cross-platform development means one codebase that runs on both, using a framework like Flutter or React Native. At Bracket Coder we primarily use Flutter because it offers the best balance of native performance, beautiful UI, development speed, and code reuse. A single Flutter codebase typically shares 80–95% of its code across iOS and Android, which dramatically cuts time and cost versus building two native apps.
| Factor | Native (Swift + Kotlin) | Cross-platform (Flutter) |
|---|---|---|
| Codebases to maintain | Two separate apps | One shared codebase (80–95%) |
| Time & cost to two stores | Highest — built twice | Lower — built once |
| Performance ceiling | Maximum, platform-tuned | Near-native for most apps |
| Best fit | Heavy platform-specific or hardware-intensive apps | Most SaaS, marketplace, and business apps |
| New OS features | Immediate access | Slight lag until framework support |
There is no universally correct answer — only the right answer for your product, budget, and roadmap. We walk through exactly how we weigh these trade-offs in how we choose the right tech stack for every client project, and you can see the specific mobile options on our services overview.
Sprints: how work actually gets shipped
Development is organized into sprints — typically two-week cycles focused on a defined set of features. At the start of each sprint we pull the highest-priority items from the backlog, break them into specific tasks, and estimate the effort. At the end, we deliver a working build you can install on your own device and test. That rhythm keeps the project visible: you are never waiting months to see whether the thing works, and priorities can shift between sprints as you learn.
Backend, APIs, and the invisible half of the app
Backend development runs in parallel with the frontend. This is the invisible half of the app: the database schema that stores your data, the API layer the app talks to, authentication and user accounts, business logic, file storage, push notifications, and third-party integrations like payments or messaging. A slick interface on top of a fragile backend fails the moment real users arrive, so we treat the backend as a first-class part of the build — often on Django and Python, which is where our Django backend development work lives. If your product is fundamentally a subscription platform rather than a simple app, our SaaS development approach adds billing, tenancy, and admin tooling on top of the same foundation.
Monetization is an architecture decision, not an afterthought. Apple's App Store and Google Play take a commission on digital goods sold in-app — 30% on the standard tier, dropping to 15% for small businesses under roughly $1M/year via Apple's Small Business Program. If you plan to sell digital subscriptions, model that cut before you build, because it shapes your pricing and your payment flow.
Stage 4: Why quality assurance decides whether users stay
Quality assurance is not a phase you tack on at the end — it runs alongside development, sprint by sprint. The goal is simple to state and hard to earn: the app should do what it promises, on the devices real people own, without losing their data or their trust.
The layers of testing that matter
Good QA covers several layers. Functional testing confirms each feature does what the spec says. Device and OS testing checks the app across the phones, screen sizes, and operating-system versions your audience actually uses — the difference between "works on my machine" and "works for your users." Edge-case testing pushes on empty states, dropped connections, interrupted payments, and the wrong inputs users inevitably supply. Performance testing watches load times, memory, and battery. Security testing verifies that authentication, permissions, and data handling hold up. The first impression a user forms is almost always about reliability, and reliability is exactly what disciplined QA buys you.
Stage 5: How do you get an app approved and found in the store?
With a tested build, you prepare for submission — and this is two jobs, not one. First you have to get through review, and then you have to get found once you are live.
Submission and app review
Both stores require a complete listing: app name, description, screenshots at multiple device sizes, an icon, a privacy policy, and accurate data-collection disclosures. Apple's human review is stricter and can reject apps for guideline violations, misleading metadata, or privacy issues, so it is worth reading the App Store Review Guidelines before you submit rather than after a rejection. Google Play's review is typically faster but enforces its own policies. Build the store timeline into your launch plan — a rejection is normal, not a disaster, but it does add days.
App store optimization (ASO)
App store optimization is SEO for the stores. The title, subtitle, keyword field, description, screenshots, and early ratings all influence whether your app surfaces when someone searches. Screenshots in particular do heavy lifting — they are the conversion moment between "found your listing" and "installed your app." Treat your first screenshots and your first reviews as a real growth channel, not paperwork.

Stage 6: Launch is the start line, not the finish line
Shipping to the store feels like the finish, but it is the moment real learning begins. Now you have actual users producing actual data, and the job shifts from "build the thing" to "understand the thing." The apps that win are the ones that treat launch as version one of a long conversation with their users.
Monitor, measure, and iterate
From day one you want visibility: crash reporting, analytics on which features get used, funnels showing where new users drop off, and a fast channel for support. That data tells you what to fix and build next — not opinions, not the loudest stakeholder. This is also where a roadmap earns its keep. The should-have and could-have features you deferred during discovery now get sequenced against real evidence of what users want.
- 1–3 weeksdiscovery phase
- 3–6 weeksUI/UX design
- 80–95%Flutter code shared iOS/Android
- 15–30%store commission on digital sales
Stage 7: What does it cost to maintain an app after launch?
An app is a living product, not a one-time deliverable. Mobile operating systems update every year, devices change, security patches land, and dependencies age. Left untouched, a working app slowly breaks. Ongoing maintenance keeps it compatible, secure, and improving.
What ongoing maintenance covers
Maintenance usually runs as a monthly retainer and covers OS and device compatibility updates, security patches, bug fixes surfaced by real usage, performance tuning, and the steady stream of small improvements that iteration produces. Budgeting for it from the start is the difference between an app that compounds in value and one that quietly decays. Our application maintenance and support plans exist precisely for this stage, and if you want to see typical numbers before committing, our pricing page lays out how projects and retainers are structured.
Where projects go wrong
Most app failures do not come from bad code — they come from a broken process: skipping validation, letting scope balloon, no clear priorities, and no plan for after launch. We wrote a full breakdown in why software projects fail and the process that prevents it, and the pattern is always the same: the teams that follow a disciplined process ship, and the ones that improvise stall.
Before committing to a native mobile app, it is also worth confirming you even need one. For many businesses, a progressive web app delivers most of the value at a fraction of the cost — we compare the two directly in mobile app vs progressive web app, which is the first place to look if you are still deciding on the format itself.
- Mobile App vs Progressive Web App: Which One Does Your Business Actually Need?
- React, Next.js, Flutter: How We Choose the Right Tech Stack for Every Client Project
- How to Write a Project Brief That Gets You Accurate and Consistent Quotes from Developers
- Why Software Development Projects Fail — and the Process That Prevents It
Frequently asked questions
How long does it take to build a mobile app from idea to App Store?
For a focused first version, plan on roughly three to six months end to end: one to three weeks for discovery, three to six weeks for design, and eight to sixteen-plus weeks for development and testing, plus store review. Genuinely complex apps with many integrations take longer; simple utilities can move faster.
How much does it cost to build a mobile app?
It depends on scope, but the stages give a useful frame: discovery runs $1,000–$5,000, design $3,000–$15,000, and development is the largest single share. The honest answer is that a clear brief produces a clear quote — vague requirements produce vague, unreliable estimates.
Should I build a native app or use a cross-platform framework?
For most SaaS, marketplace, and business apps, a cross-platform framework like Flutter delivers near-native performance from one codebase, cutting time and cost. Native is the right call when your app is heavily platform-specific or pushes hardware to its limits. The decision should follow your product, not fashion.
Do I really need the discovery phase?
Yes — it is the cheapest insurance you can buy. Discovery is the stage that stops you spending the expensive development budget on features nobody wants. In the projects we ship, the teams that skip validation are the ones most likely to rebuild later.
What happens after my app launches?
Launch begins the iteration loop: monitor crashes and analytics, support your first users, and ship improvements based on real data. Alongside that, ongoing maintenance keeps the app compatible with new OS versions and secure. Budget for both from the beginning.
How do I get an accurate quote for my app?
Write a clear project brief covering the problem, your users, the must-have features, and your constraints. The more precise your brief, the more precise and consistent the quotes you get back. Our product planning guides walk through exactly how to prepare.
Planning something like this? Whether you are validating a brand-new idea or ready to build, get a free scope and quote and we will map your app to a concrete plan, timeline, and cost.
Sources
Have a project like this in mind?
Tell us what you're building and we'll map out the scope, timeline and a fixed starting quote — no obligation.
Start your project